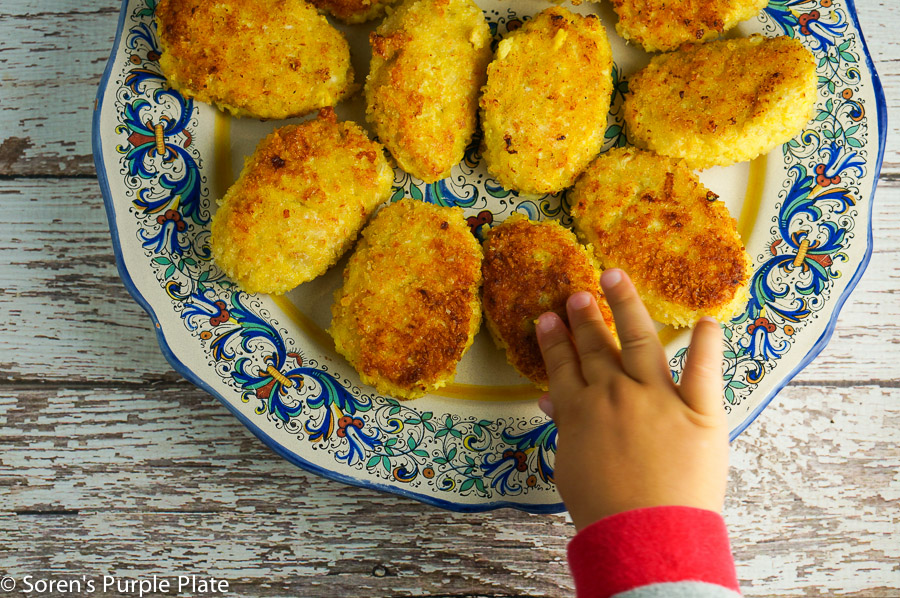
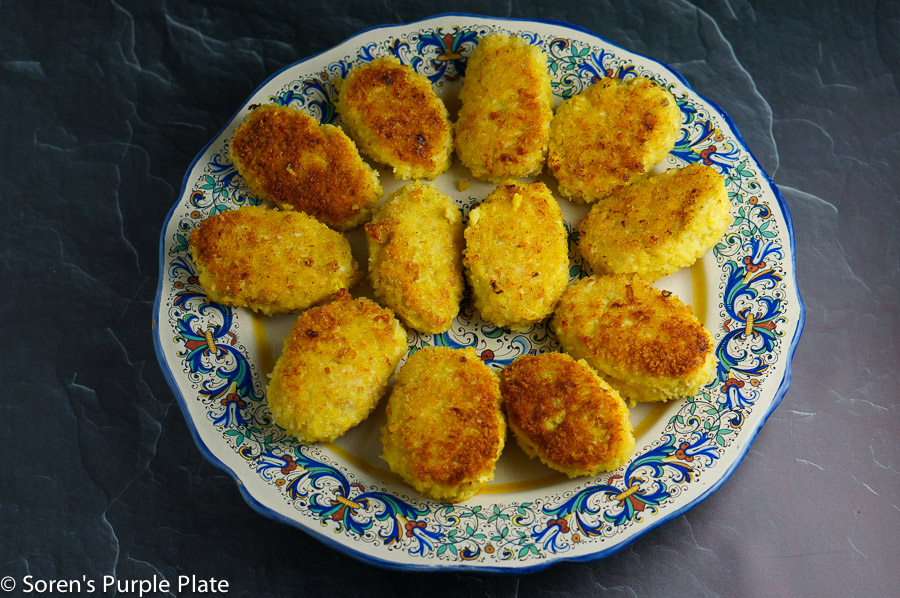
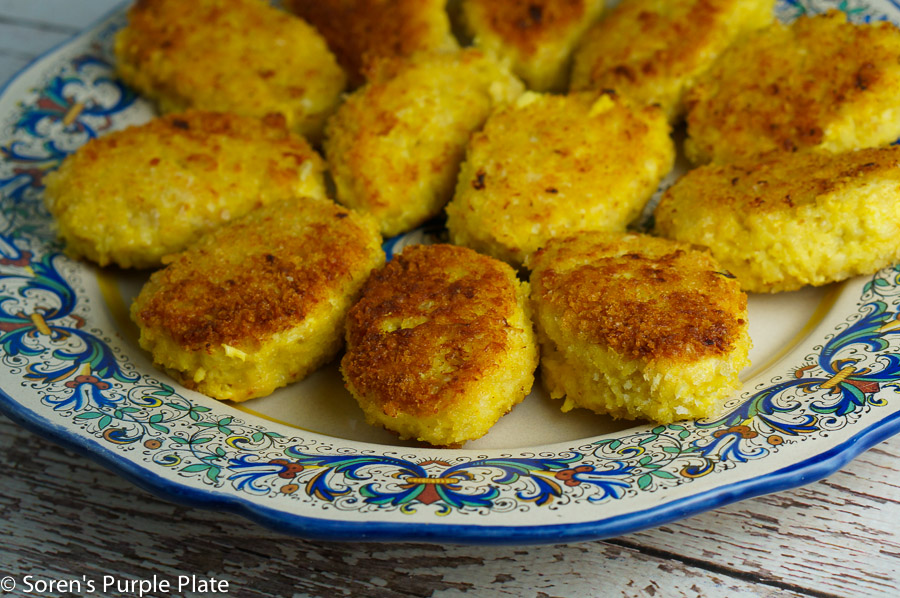
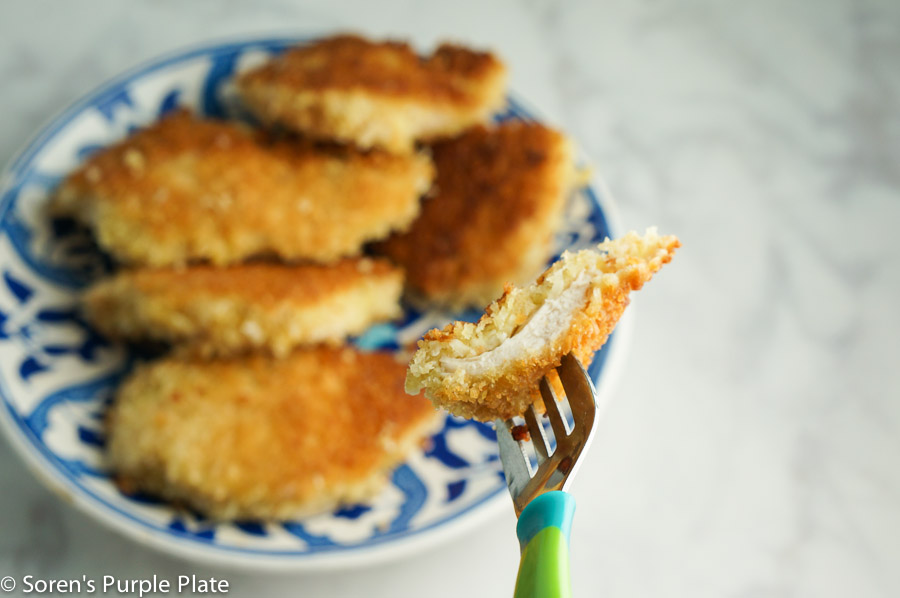
Hello yummy crispy coconut chicken! It’s made of healthy ingredients but it’s fried.
I would like to state that I would not offer this chicken to a baby under 1. Yes, I am a fan of Baby Led Weaning (what is it?) but Baby Led Weaning can be as healthy or unhealthy as you make it to be. Babies can be given the most greasy foods right at 6 months and, technically, it would be considered BLW. The main premise is that you offer your child whole foods (large chunks instead of purees) and leave them to be independent eaters (rather than spoon-feeding them from 6 months.) So there. My philosophy is – healthy foods at any cost.
That said, my son is now approaching his SECOND Birthday and I have to admit I definitely have relaxed a lot more about what foods he eats. His appetite is still good but the food preferences are there, sometimes very strong, like a plate can fly high into the air and spill all over the carpet and couch if he doesn’t like what’s on it. I used to be a purist when it came to baby food and I am glad I put the effort. I think it’s paying off already. But at this point, Soren eats a lot more traditional kids foods.
On to the recipe
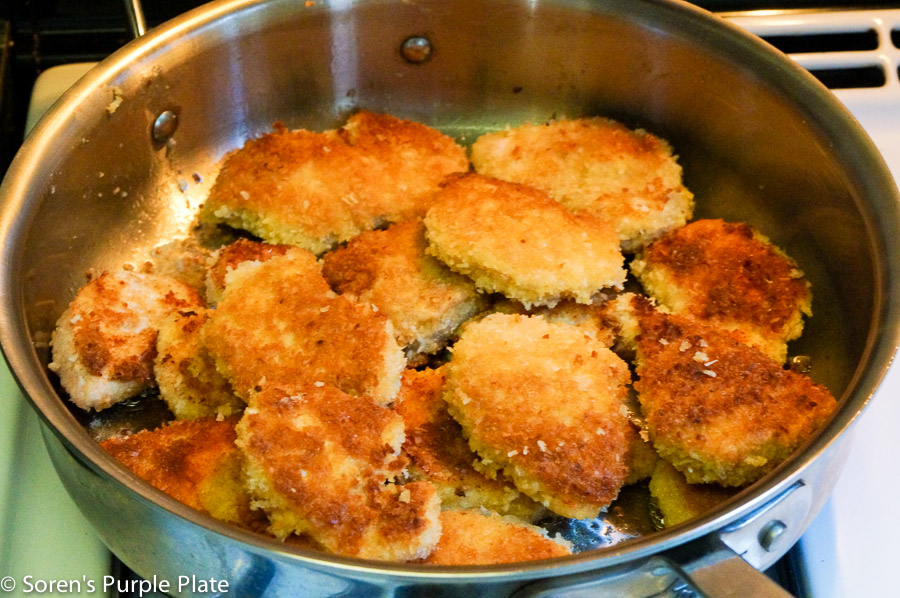
If you use a non-stick pan, you can make this chicken with minimal oil. If you would like to achieve maximum crispiness, then it’s better to use a regular pan with a considerable amount of oil (however much you need for the chicken not to stick).
It won’t be crispy:
- if you cover the pan with the lid
- if you refrigerate
- if you use too low heat
Crispy or not, it’s still delicious.
INGREDIENTS:
METHOD:
- INGREDIENTS:
- 2 large chicken breasts
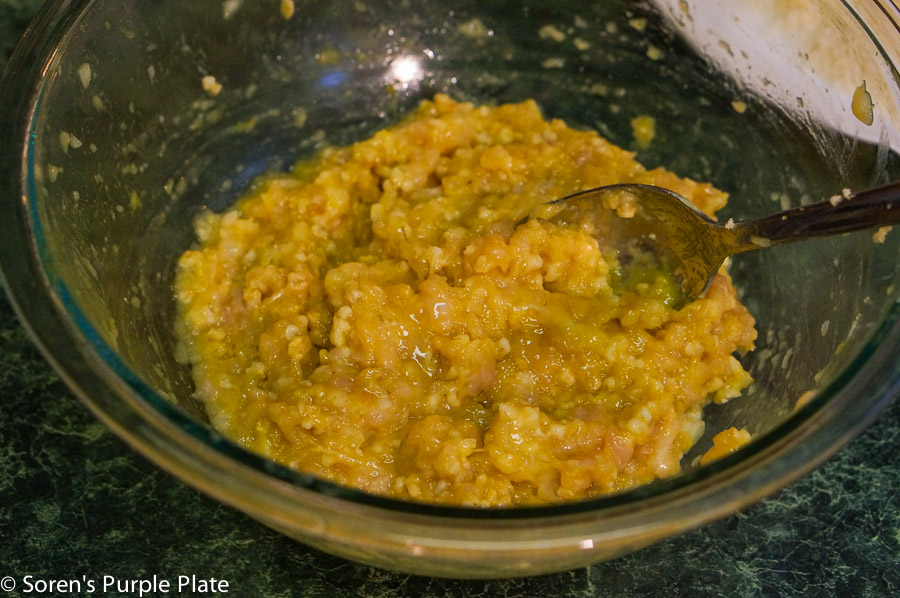
- 2 eggs
- ½ cup flour (I used whole wheat)
- 1 cup unsweetened coconut shreds
- ½ cup panko (Japanese breadcrumbs)
- Coconut oil
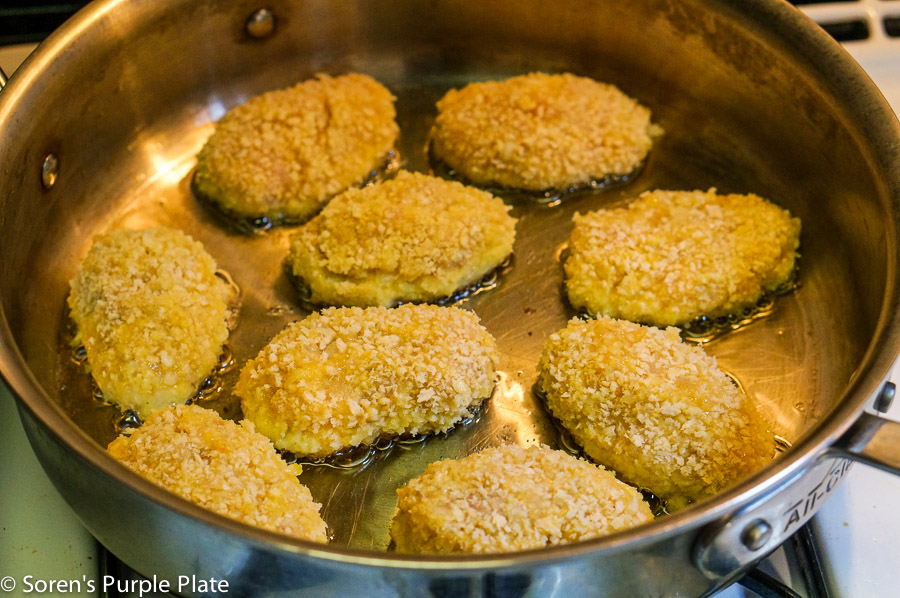
- Prepare 2 plates: one with flour and one with coconut mixed with panko. Beat the eggs. Prepare a pan with coconut oil. If you want really crispy chicken, then use a regular pan (not a non-stick) and use quite a bit of coconut oil.
- Cut the chicken into thin strips. Season with salt and pepper. Dredge in flour first, then dip in egg mixture, then dredge in coconut shreds mixture.
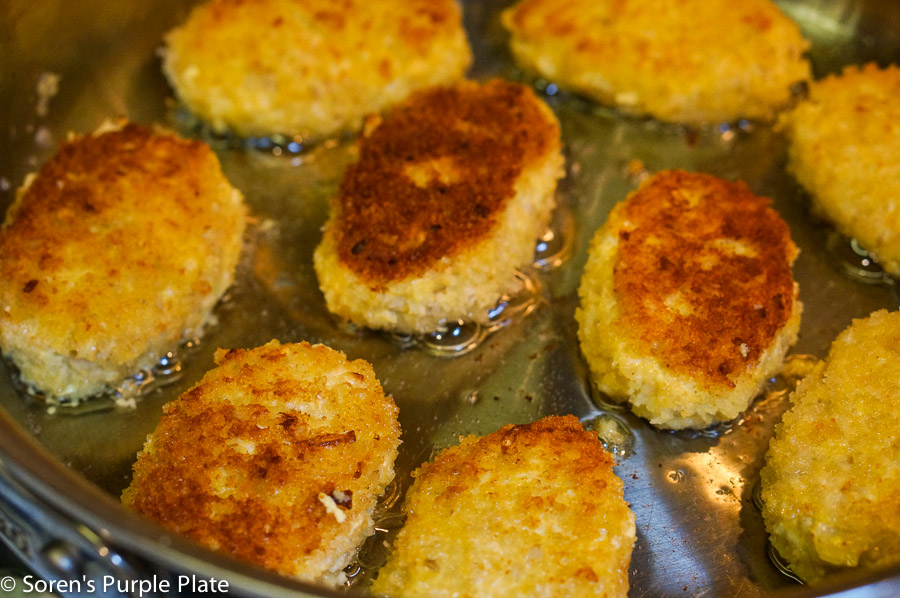
- Pan fry for 8 minutes on each side. If you used a lot of oil, then place the cooked chicken on paper towel to absorb excess oil.